Controlling a PC as if you were sitting right in front of it using only a USB cable and a video output is no longer just for large data centers or expensive equipment. Mini KVM-over-USB devices have democratized something that was once reserved for complex enterprise solutions, and today any technician, hobbyist, or small office can have direct access to the BIOS, console, and desktop without physical monitors, keyboards, or mice.
The concept of "full PC control via USB KVM" encompasses various types of devices and approaches : from pocket-sized mini-KVMs like Openterface KVM-GO or Mini-KVM, to more comprehensive solutions like Jet KVM that combine local network and cloud access, and even KVM functions integrated into Dell monitors with automatic switching between PCs. Let's break down how they work, how they differ, and what use cases each one covers.
What is a KVM and what does the KVM-over-USB approach offer?
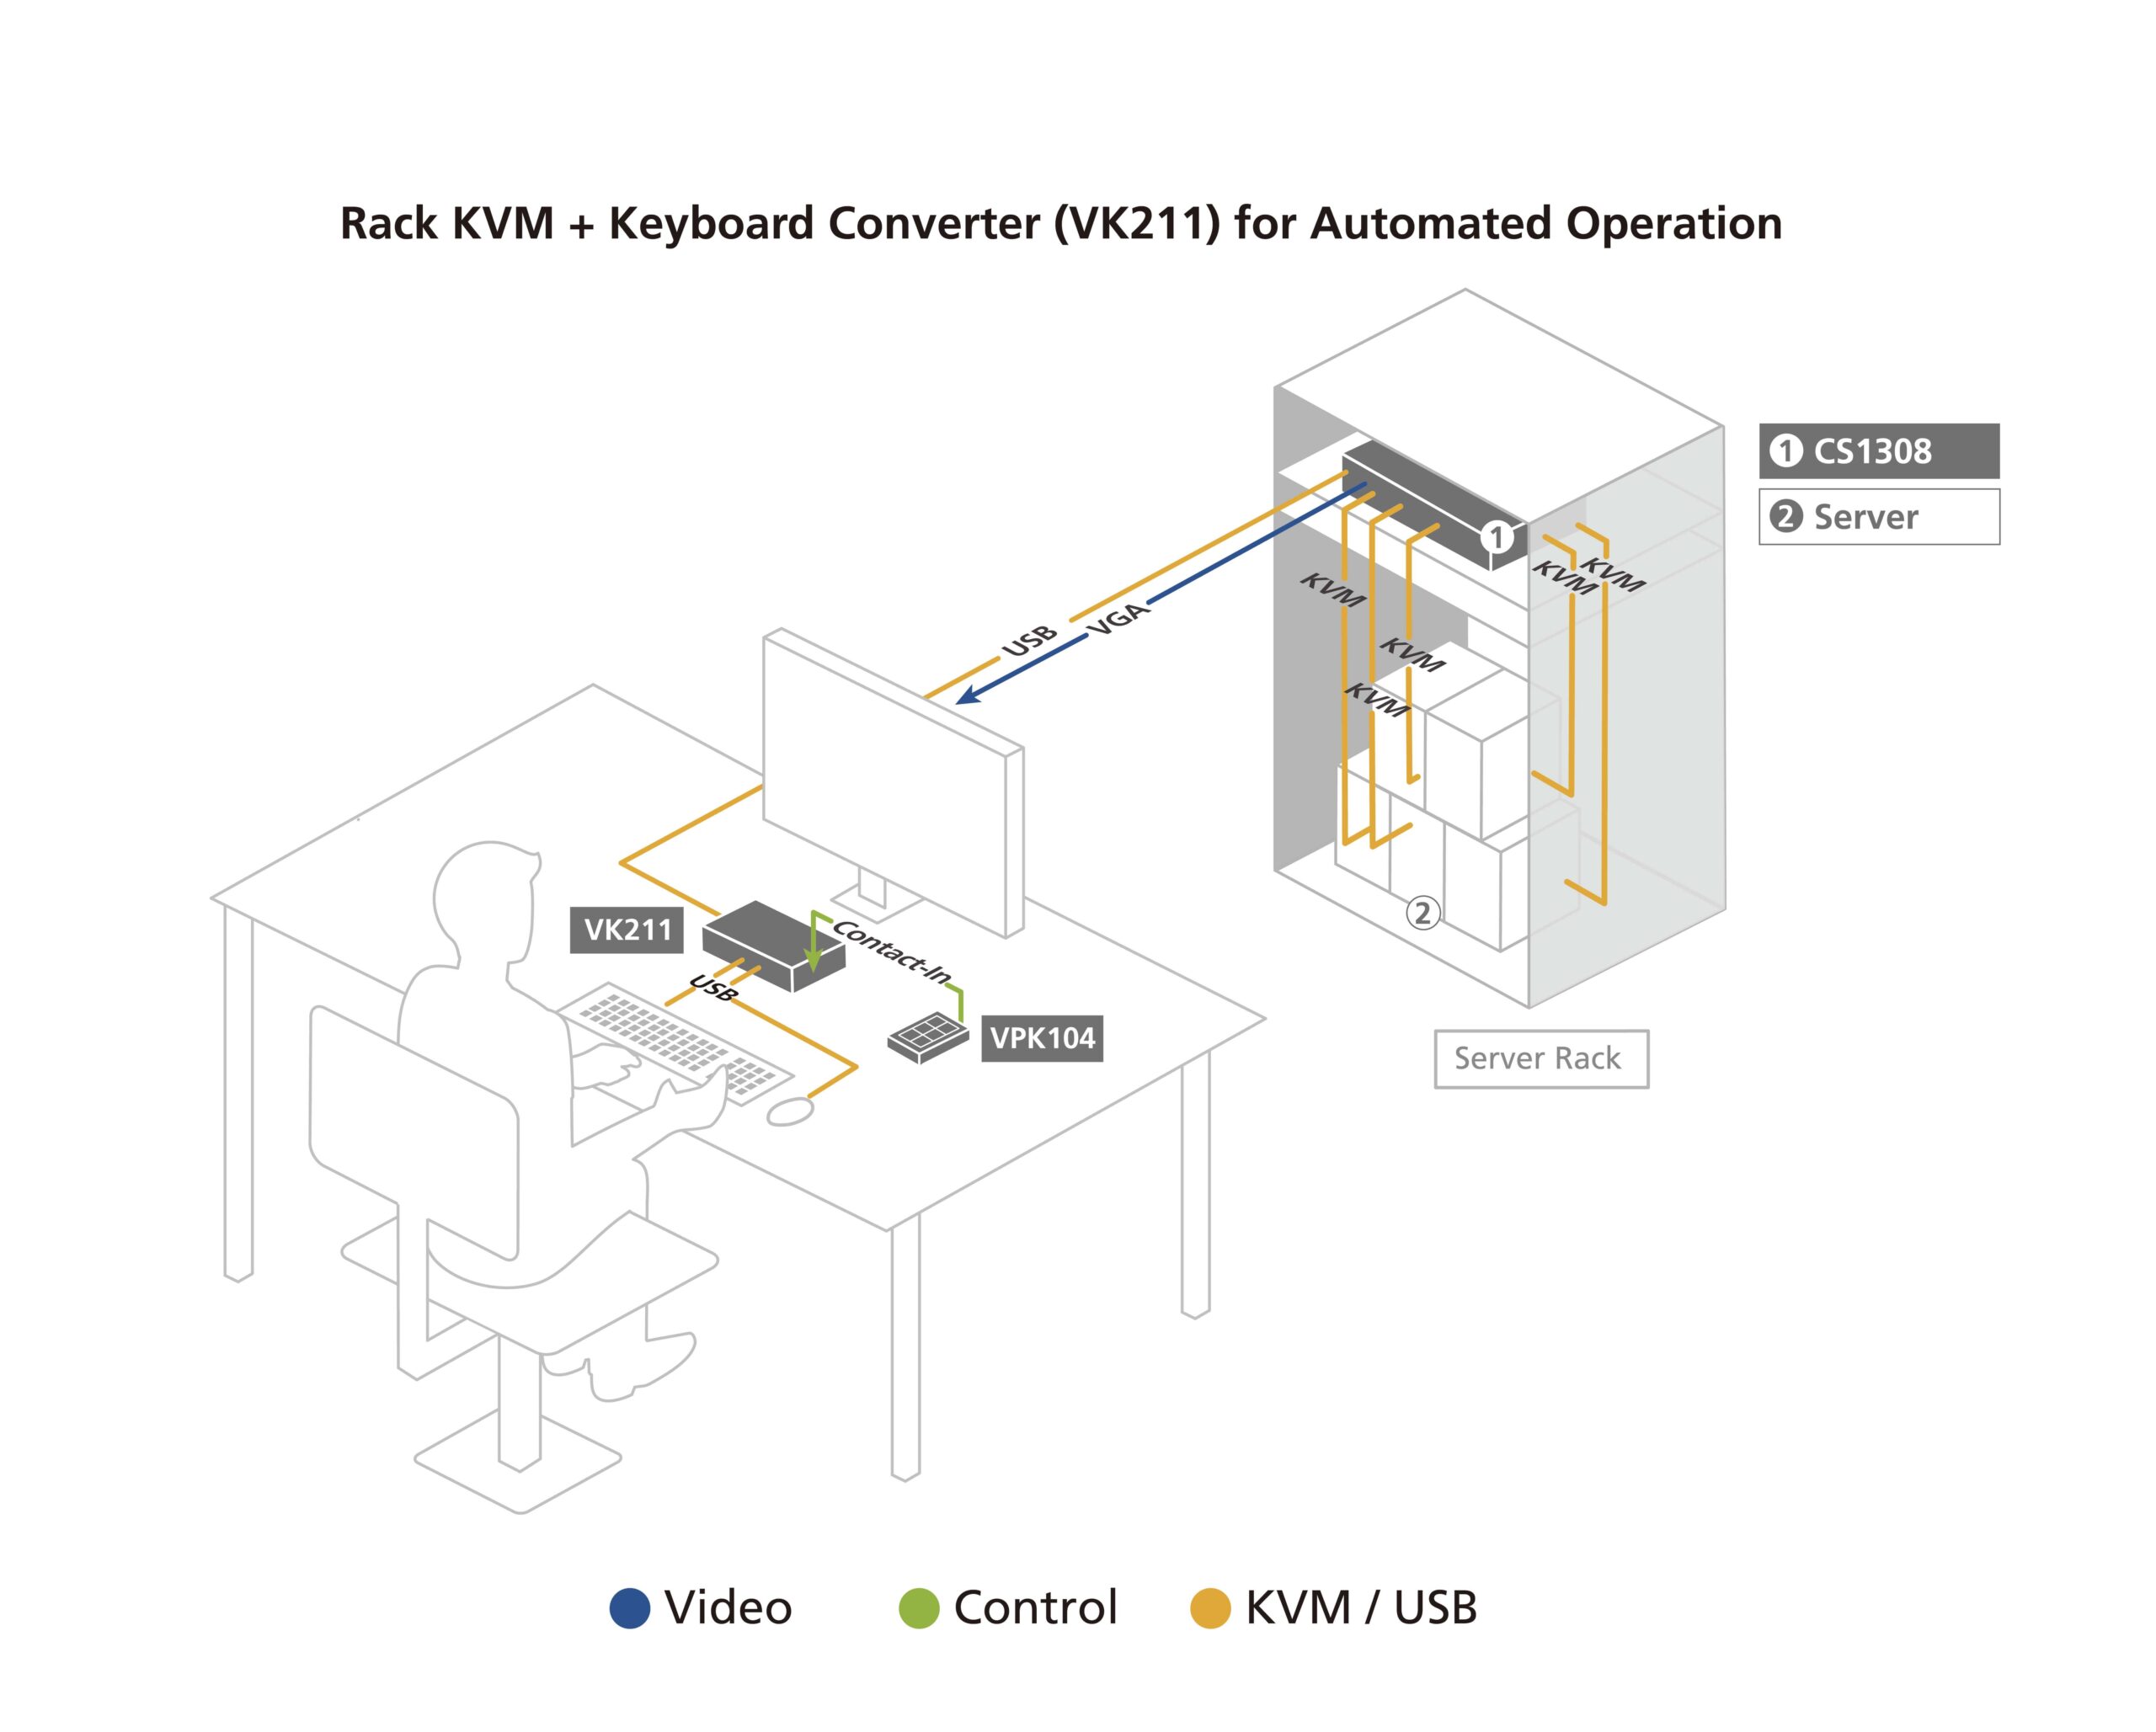
KVM stands for Keyboard, Video, and Mouse . A traditional KVM device allows you to control one or more computers from a single set of peripherals, typically using a physical switch and several video and USB or PS/2 cables that connect to each computer.
The classic KVM approach involves a tangle of cables : one video cable per PC (HDMI, DisplayPort, VGA, etc.), plus USB connectors for keyboard and mouse. Switches allow you to move between computers, but they are usually designed for desktop or rack environments, not so much for technicians who need to move around or work with headless servers without a monitor.
The KVM-over-IP variant takes this a step further : the KVM device connects to the target computer and the network, and control is exercised via TCP/IP from another computer. This allows remote access from anywhere, but in return introduces network dependency, more configuration (switches, routers, firewalls), and a larger attack surface if not properly secured.
KVM-over-USB devices are a game-changer : instead of relying on a network infrastructure, they concentrate all control (video, keyboard, and mouse) into a single USB connection between the host (the computer you're controlling from) and the target (the computer you want to control). They capture the video signal from the target computer's HDMI/DP/VGA output and present it as a video stream to the host, while simultaneously emulating a standard HID keyboard and mouse on the target.
This local USB approach eliminates network latency and reduces complexity , as you don't need to configure anything on switches or routers or open ports, unlike network-based solutions such as Raspberry Pi Connect . The experience is typically very smooth, with delays usually below 140 ms between mouse movement and seeing the result on screen—more than enough for administration, system installation, or troubleshooting.
Openterface KVM-GO and Mini-KVM: Key fob KVM with full control without network
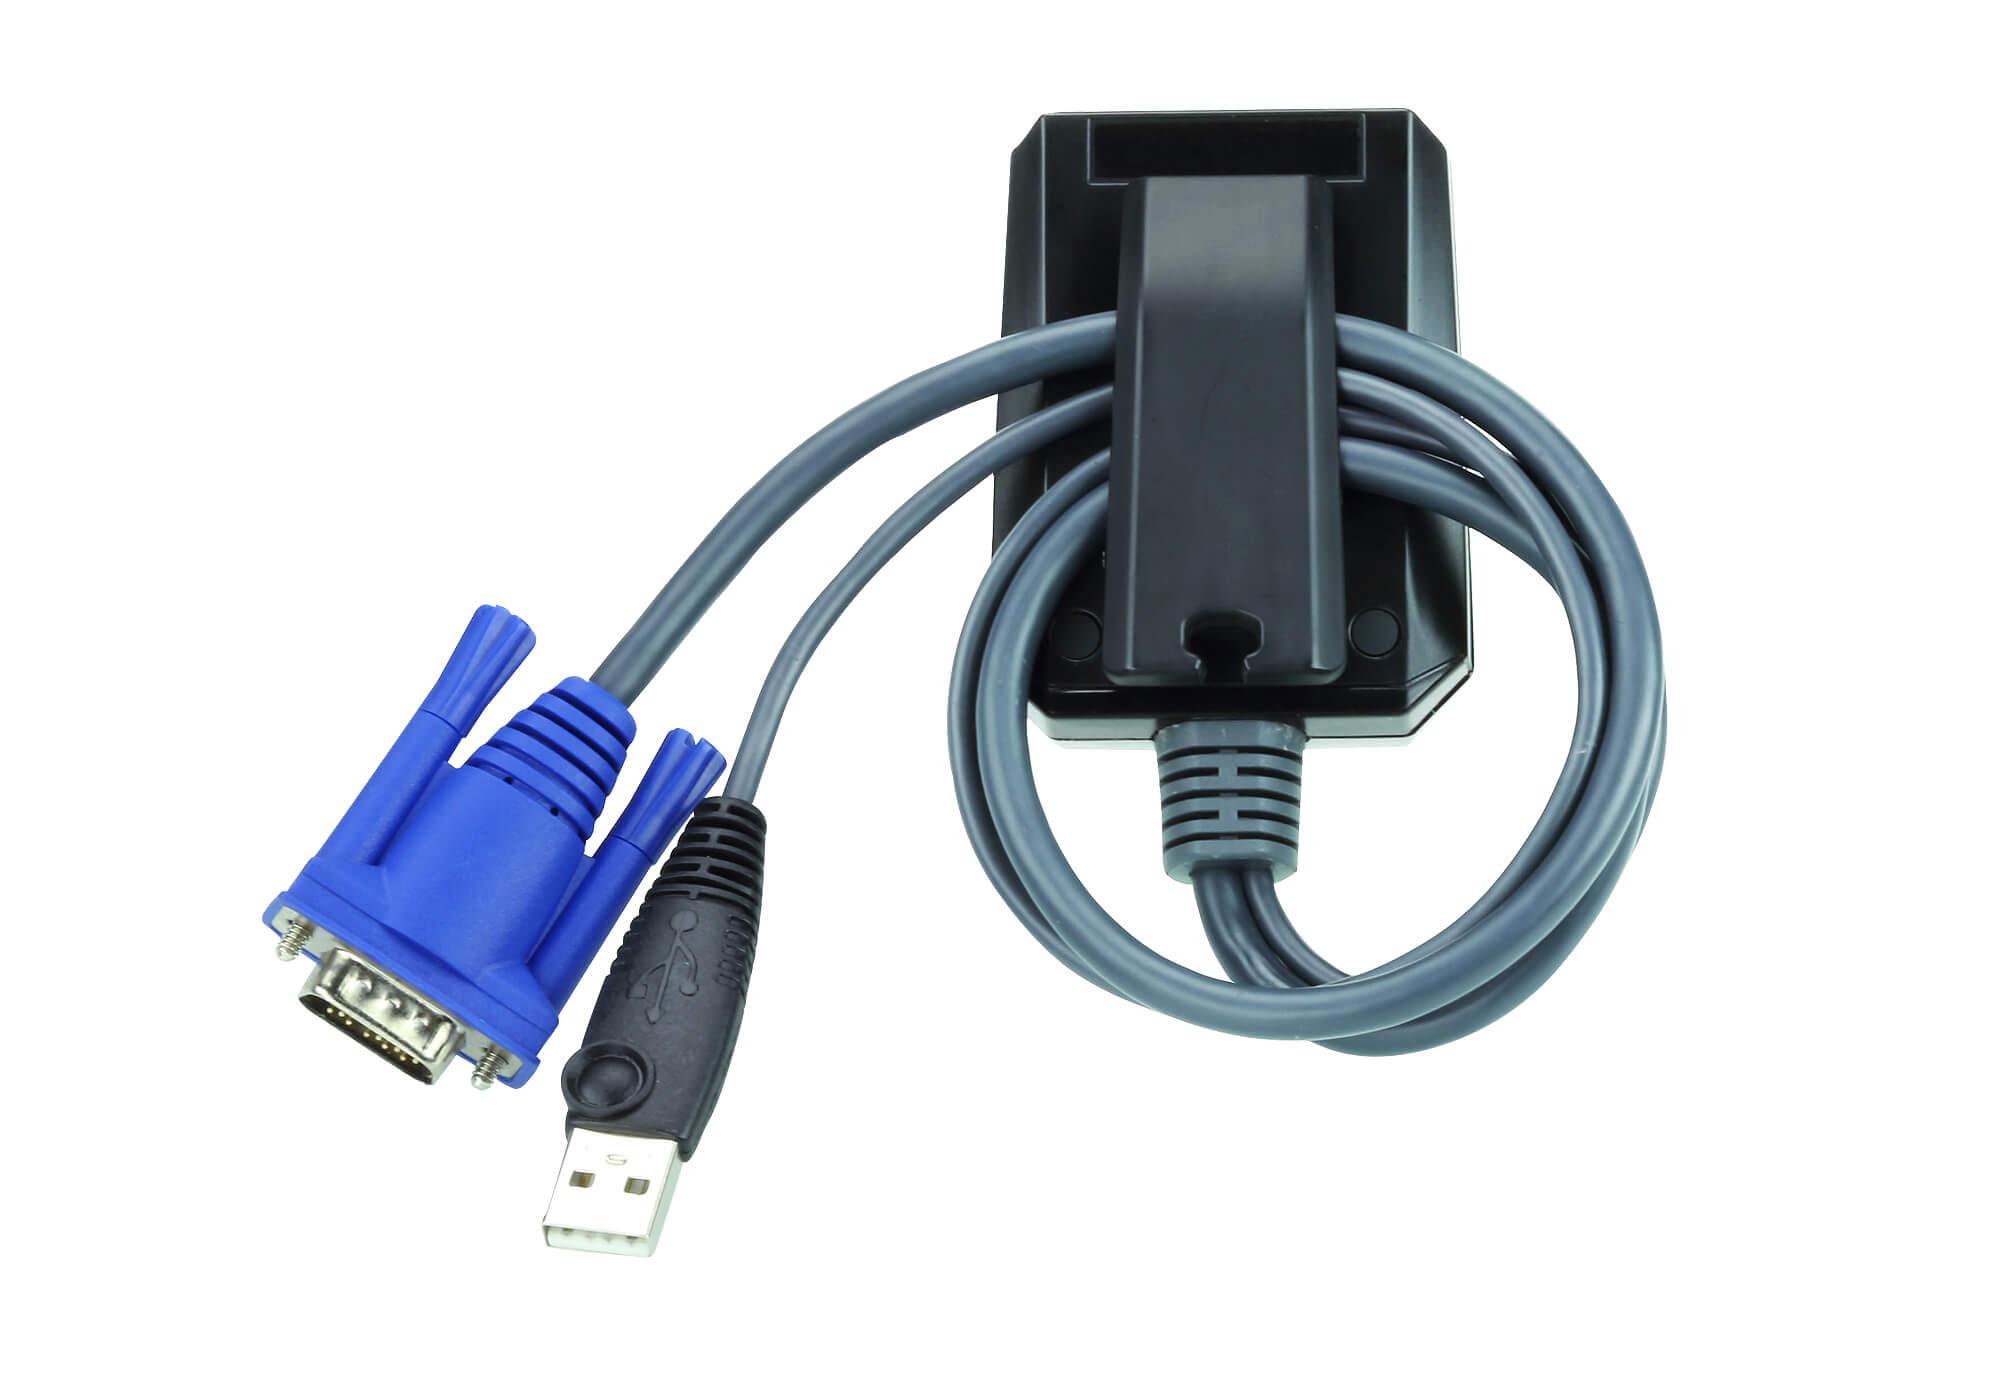
The Openterface KVM-GO is one of the most striking mini-KVM-over-USB devices in terms of design and size . It measures approximately 18 × 18 × 55 mm and weighs around 25 g, making it easily portable enough to carry on a keychain. Its key difference from other mini-KVMs is that it integrates the video connector directly into the device itself.
Versions are available with HDMI, DisplayPort, or VGA depending on the model , so you can plug the KVM-GO directly into the video output of the PC or server you want to control. This eliminates the need to carry extra video cables, bulky adapters, or converters when moving from one rack to another or from one workstation to another.
Regarding video, KVM-GO supports input up to 4096 × 2160 @ 60 Hz in an experimental 4K mode, with typical output in MJPEG or YUV420 to the host. The recommended and most stable profile is 1080p @ 60 Hz, which offers a very good balance between sharpness, smoothness, and resource consumption on the computer controlling the system.
One of the most practical features is the integrated microSD card slot . This allows you to use the device not only as a remote console, but also as a means of transferring files or even mounting operating system images and performing remote installations without having to physically access the server. For repetitive deployments or maintenance of multiple machines, this is a huge time-saver.
Connectivity is provided via USB-C ports with support for USB 3.0 in both HDMI and DisplayPort versions. The additional bandwidth is key to handling high-quality video with low latency, while simultaneously sending emulated keyboard and mouse signals without bottlenecks.
On the host side, the control applications are cross-platform : OpenTerface offers software for Windows, macOS, Linux, and Android, with web clients and native iPadOS support on the horizon. The idea is that you can plug in your laptop, tablet, or even an Android phone and take control of the server without any complicated installation.
BIOS access and low-level control: how HID emulation works
One of the major strengths of OpenTerface KVM-over-USB is BIOS-level access . Unlike remote desktop tools that rely on the operating system booting (such as VNC, RDP, or similar), here control is exercised from the moment the motherboard starts displaying an image.
This is possible thanks to the emulation of standard HID (Human Interface Device) devices, that is, a USB keyboard and mouse that the target computer detects as if they were physical peripherals. The KVM injects the keystrokes and movements sent by the host, and the BIOS or operating system interprets them as normal input, without requiring additional drivers.
In practice, this means you can enter the BIOS, modify options , flash firmware, change the boot order, or interfere with a system that hasn't even loaded the operating system, all while viewing the real-time video output from your laptop.
Video capture is performed transparently to the target system : from the PC or server's perspective, there is only a monitor connected via HDMI/DP/VGA, and a USB keyboard/mouse. All image processing, compression, and transmission are handled by the KVM device and the host application, ensuring compatibility even with older hardware or outdated BIOS versions.
This driverless approach maximizes compatibility with older systems, minimalist Linux distributions, embedded systems, and unusual BIOS/UEFI configurations. For technicians who encounter all sorts of issues in the field, it's a lifesaver.
Practical comparison with other KVM and remote access solutions
When comparing a mini-KVM-over-USB with other solutions on the market , it is important to clearly differentiate between several types of devices that, although all called "KVM" or "remote access", play in different leagues.
On one hand, we have classic USB hub-type switches , such as many 2-port models from manufacturers like StarTech. These allow you to share a keyboard and mouse between two computers, but they don't capture video signals or provide BIOS access. Furthermore, they require the monitor to be connected separately to each PC, which increases cabling and limits their usefulness for true remote management.
At the opposite end of the spectrum are dedicated KVM-over-IP solutions , such as some Epiphan devices or enterprise IP-KVM modules. These offer robust remote access from anywhere on the network (or even from the internet), with advanced features, but at the cost of some complexity: network, security, and user configurations are required, and they often need external power and multiple cables (LAN, video, USB, etc.).
Pure software solutions, such as VNC or RDP , operate on a different level: they don't require additional hardware, but they do require that the target machine's operating system is running and has the appropriate server installed. Furthermore, accessing the BIOS or troubleshooting situations where the machine simply won't boot is not possible with this approach.
USB mini-KVMs like the Sipeed NanoKVM-USB, Cytrence Kiwi KVM, and Openterface KVM-GO occupy a very interesting middle ground. They offer video capture, keyboard/mouse emulation, and BIOS access, without requiring a network or complex configurations, all in an ultra-portable form factor. The key differentiator of the KVM-GO compared to other mini-KVMs is its integrated video connector, which further reduces the accessories needed for operation.
In summary, there is a clear trade-off between simplicity, remote reach, cost, and security : over-USB solutions are local but extremely simple and secure as they do not depend on the network; KVM-over-IP provides global reach in exchange for greater complexity; and simple USB switches are cheap but limited to the local desktop without video capture or deep access.
Common uses and real-world scenarios for KVM-over-USB
The design and philosophy of devices like Openterface KVM-GO makes them ideal for field technicians , system administrators, and enthusiasts who tinker with servers, NAS, or "headless" equipment (without a monitor or connected peripherals).
In a data center or remote server room , a technician can carry the KVM switch in their pocket and, when they need to troubleshoot a server that won't boot or has a misconfigured network, they simply connect the server's HDMI/DP/VGA output to the KVM switch and the USB-C cable to their laptop. In seconds, they have the console in front of them, without having to search for a cart with a monitor, keyboard, and mouse.
In computer repair shops and hardware labs , these mini-KVMs provide a "universal" console that connects to any test equipment without the need for fixed workstations. They are especially useful for repetitive testing, large-scale installations, or initial configuration of new equipment.
The ability to work with resolutions up to 4K @ 60 Hz is interesting, but in practice many users will prefer 1080p for stability and less strain on the host system. The 4K mode is considered experimental on some models because it increases heat generation and requires more CPU power on the computer displaying the signal.
For users who only need to view boot logs, manage BIOS, or configure services , Full HD resolution is more than enough, and the smoothness of the mouse and keyboard is more important than absolute image sharpness.
Openterface Mini-KVM: plug-and-play approach to local control
The Openterface Mini-KVM is another KVM-over-USB variant designed to be plug-and-play and very easy to use. Its philosophy is similar: controlling a nearby computer without peripherals via a USB and HDMI connection, without relying on a network.
The idea is that you can control a headless computer directly from your laptop , using just two cables: one for power and data via USB, and another HDMI cable (or adapter) from the video output of the target computer. Everything else is managed through a host application or, in some cases, a local web interface.
This type of mini-KVM is designed for high portability , typically powered via USB without an external adapter, and very quick setup. Installation is minimal: simply plug it in, open the app, and start controlling.
Compared to network-based or KVM-over-IP solutions , Mini-KVM sacrifices long-distance remote access in exchange for simplicity, fewer cables (you don't need LAN or an external power source in many cases) and a simpler security model, limited to the physical cable you connect.
Jet KVM: Total control via USB, local network and cloud
Jet KVM is a device that combines the KVM concept with remote network access and cloud services . It originated as a Kickstarter project with a very affordable starting price (around €69), aiming to bring typically professional functionalities to home users and small offices.
The idea behind Jet KVM is to allow you to control a computer without a monitor, keyboard, or mouse , both on a local network and over the internet, while maintaining access to the BIOS and the entire boot process. It is especially useful for home servers, smart home devices, secondary PCs, or equipment located in hard-to-reach places.
In terms of design, Jet KVM features a robust metal casing , built to withstand heavy use, impacts, and everyday wear and tear. Even so, it maintains a compact form factor that facilitates installation on desktops, racks, or even attached to the back of a PC.
Connectivity is quite versatile and goes beyond simple USB + HDMI . It typically includes:
- HDMI mini for capturing video of the target team.
- USB-C for power and data.
- RJ45 for Ethernet network connection.
- RJ11 for additional functions such as remote power on and off.
The presence of a front LED panel simplifies management by displaying useful information such as the network IP address, HDMI connection status, and connected devices. This makes troubleshooting easier when something goes wrong.
Jet KVM's user interface is browser-based : simply enter the IP address displayed on the device's panel to access the remote console from any computer connected to the same network. From there, you can adjust video quality, mouse settings, security options, and more.
Loading ISOs and advanced Jet KVM features
One of Jet KVM's standout features is its ability to load ISO images directly onto the device, thanks to its internal memory (for example, 16 GB). This allows you to mount ISOs as if they were virtual CD/DVD or USB drives on the controlled computer.
For installing operating systems or running recovery tools , this function is pure gold: you upload the ISO to Jet KVM via the web, mount it, change the boot order in the BIOS if necessary, and you can reinstall or repair the system without physically going near the computer.
The transfer speed is limited by the network interface (for example, 100 Mbps on some Jet KVM models), but it's sufficient for most cases. A 5 GB ISO can be uploaded in about five minutes, which, considering you can do it from your couch, isn't bad at all.
In addition to loading ISOs, the web console offers features such as full screen, virtual keyboard, video quality settings (high, medium, low depending on network speed) and power control options such as Wake-on-LAN, which allows you to turn on remote PCs using a "magic packet" sent over the network.
Jet KVM's integration with the cloud further expands its possibilities . Through its Jet KVM Cloud service, you can register the device with an account (for example, Google), establish secure tunnels, and access the connected PC from anywhere in the world, without needing to configure VPNs or complex rules on the router.
Typical Jet KVM configuration and real-world use cases
Setting up a Jet KVM is fairly straightforward and doesn't require advanced knowledge . The typical workflow would be:
- Connect the basic cables: USB-C for power, HDMI to the target PC and RJ45 to your network.
- Access the IP address displayed on the LED panel from a browser on a computer on the same network.
- Configure initial options: access password, video parameters, mouse settings, etc.
- Start controlling the remote equipment directly from the web interface.
In home environments, Jet KVM shines with home servers and secondary PCs used as NAS devices, gaming rigs, home automation systems, or testing equipment. It allows you to keep them without a connected monitor or keyboard, only accessing the remote console when something goes wrong or the BIOS needs to be changed.
In small offices, it's ideal for managing multiple computers from a single workstation , especially if there's no budget or need for enterprise solutions like iLO, DRAC, or dedicated IP KVMs. For a very low cost, you get access to the BIOS, remote management, and the ability to reinstall systems from ISOs.
Jet KVM's strengths include its very competitive price compared to professional alternatives, robust hardware, combination of local and cloud access, BIOS compatibility, and ease of mounting ISOs quickly.
On the other hand, there are some limitations to consider : the 100 Mbps network interface falls short for very demanding environments, the 16 GB of internal storage may be insufficient if you work with many large ISOs, and you may notice a slight delay in mouse movement, which is common in this type of solution geared towards administration rather than intensive interactive use.
KVM integrated into Dell monitors and Auto KVM: Switch PCs on the fly
Beyond external devices, many modern Dell monitors incorporate KVM functions built into the monitor itself. This allows you to use a single monitor, keyboard, and mouse with two different PCs without additional hardware, ideal for those who combine a personal laptop and a work PC.
The basic operation is that of a desktop KVM switch : the two video sources are connected to the monitor (for example, HDMI and DisplayPort), and the upstream USB cables are connected to each PC. Using Dell Display Manager and the "Input Manager" tab, you can configure which video input and which upstream USB port corresponds to each PC.
Dell's KVM wizard guides the user through a four-step process : selecting how many PCs to connect (usually two), choosing the video inputs for each, assigning the corresponding USB ports, and customizing the screen layout (picture-in-picture or picture-by-picture mode).
In picture-by-picture mode, the monitor displays two screens side-by-side , each from a different PC, while in picture-in-picture mode, one screen appears in a floating window on top of the other. This is very useful for workflows where content from multiple machines needs to be viewed simultaneously.
The icing on the cake is the ability to assign keyboard shortcuts to switch between full-screen PCs or change picture-in-picture/picture-by-picture layouts. This way, with a simple key combination, you can switch from working on PC 1 to PC 2 or change which computer is displayed in full screen.
The Auto KVM function goes a step further and automatically detects a second PC connected via USB-C . For example, when someone arrives at a shared workspace with their laptop and plugs it into the monitor via USB-C, Auto KVM instantly transfers control to that machine.
Shared desktops and productivity with Dell Auto KVM
In today's hybrid work environment, shared desktops are becoming increasingly common . Several people use the same physical workstation, each with their own laptop or PC, at different times of the day.
With Auto KVM, the monitor acts as a central productivity hub : all peripherals (keyboard, mouse, headphones, webcam, USB storage drives, etc.) connect directly to the monitor. This, in turn, is connected to a desktop tower and has a USB-C cable ready for users' laptops.
The typical workflow is very simple : the first person (for example, “Susan”) works with the desktop tower connected all day, and when they leave, they simply unplug it. The next person (for example, “Rob”) arrives, connects their laptop to the monitor's USB-C port, and Auto KVM automatically detects the new source, switching control of the keyboard, mouse, and peripherals to their laptop.
When Rob finishes and disconnects his laptop , the monitor and controls automatically revert to the original desktop PC. This process repeats with each new user who sits at the same workstation, eliminating the need to manually switch cables or navigate monitor menus.
In addition, Dell Display Manager can automatically restore the default window layout using Easy Arrange, so even if you disconnect and reconnect, the panels and applications are rearranged as you had them before, greatly improving the feeling of continuity when switching machines.
This type of integrated and automatic KVM is especially useful for graphic design professionals who switch between computers, financial workers with multiple data sources, or any environment where office PCs and personal laptops are combined on multiple monitors.
Taken as a whole, the current KVM solutions ecosystem covers virtually every scenario : from the technician who needs a KVM-over-USB key fob to access the BIOS of servers without a network, to the home user who controls their home server with Jet KVM from the cloud, to offices with Dell monitors that distribute a single full workstation among several people throughout the day.
Key points to consider when choosing your KVM solution
When choosing the right tool to have full control of your PC from USB KVM , you should consider several aspects: whether you need local access only or also remote access, whether you value extreme portability, whether you will use it frequently in the BIOS, and what level of configuration complexity you are willing to accept.
KVM-over-USB solutions like Openterface KVM-GO or Mini-KVM are unbeatable in portability and simplicity, ideal for field technicians and servers without a reliable network. Hybrid solutions like Jet KVM offer flexibility with both local network and cloud connectivity, making them very useful for homes and small offices with continuous remote access.
Dell monitors with built-in KVM and Auto KVM options take advantage of the hardware you already have on your desktop to manage multiple PCs with a single set of peripherals, without adding extra boxes or cables, and with smart features for automatic window switching and restoration.
If you value security and want to minimize risks , purely local USB solutions reduce network exposure. Conversely, if you need to access your devices from anywhere in the world, KVMs with cloud functionality sacrifice some simplicity for convenience and global reach.
By combining these approaches, it is possible to have a very complete ecosystem : a mini-KVM-over-USB always in the backpack for on-site emergencies, a Jet KVM on the home server for daily maintenance from the network or Internet, and monitors with automatic KVM in the office to maximize productivity on shared desktops without complications.

Table of Contents
- 1 What is a KVM and what does the KVM-over-USB approach offer?
- 2 Openterface KVM-GO and Mini-KVM: Key fob KVM with full control without network
- 3 BIOS access and low-level control: how HID emulation works
- 4 Practical comparison with other KVM and remote access solutions
- 5 Common uses and real-world scenarios for KVM-over-USB
- 6 Openterface Mini-KVM: plug-and-play approach to local control
- 7 Jet KVM: Total control via USB, local network and cloud
- 8 Loading ISOs and advanced Jet KVM features
- 9 Typical Jet KVM configuration and real-world use cases
- 10 KVM integrated into Dell monitors and Auto KVM: Switch PCs on the fly
- 11 Shared desktops and productivity with Dell Auto KVM
- 12 Key points to consider when choosing your KVM solution